This is an old revision of the document!
This page is not fully translated, yet. Please help completing the translation.
(remove this paragraph once the translation is finished)
Automated Time Alignment of Multiple Drivers
Typical mounting of woofers and tweeters in a loudspeaker with a vertical baffle places the tweeter closer to the audience than the woofer. That placement means that the high frequencies reach the listener before the low frequencies. When using digital crossovers, it is possible to delay the signal to each driver by precisely different amounts, so that the listener hears the sound from the woofer and the tweeter at the same time. By compensating for the difference in transit time, the loudspeaker can be time aligned to within one digital sample, and produce a very good step response.
The smallest unit by which the digital music signal can be delayed in the time domain is one sample. At a sample rate of 44.1 kHz (CD quality) sound travels of 3.89 mm between consecutive samples. Each driver can be virtually moved backward or forward in units of samples (3.89mm at 44.1kHz).
There are several ways to find out how many samples each driver needs to be shifted from each other. One can, for example delay the woofer by a (much too large) 1000 samples. After a Logsweep delayed peaks are visible in the impulse response. However, since the peak of bass drivers are very gradual and hard to see, the following process allows Acourate to find the peaks automatically and provide each driver with the necessary time offset.
Quick Guide:
- Record pulse using Logsweep and your digital crossovers (XO files)
- Run Room Macros 1-3 (the target curve will have no effect in this procedure)
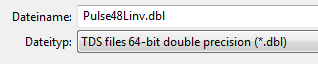
- Replace Pulse48Linv.dbl und Pulse48Rinv.dbl in your working directory with a filter that has a single sample set to 1 at its center position(see below for instructions on how to create)
- Run Room Macros 4 & 5 using pre-ringing compensation as necessary
- Delete your original XO files
- Rename the just-created COR files as XO files. These are your time-aligned XO files.
- Create a multi-way wav file and load into the Logsweep recorder to complete the final step of room correction.
Detailed Instructions:
To apply the method requires two identical files. These are first created and saved anywhere you can remember but not in your working directory, as they will get overwritten!
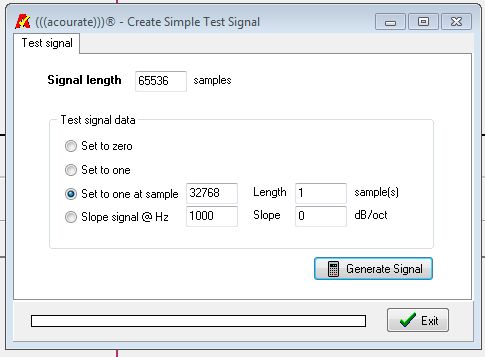
0.1 Using Generate> test signal and the settings shown above creates a perfect impulse response.
0.2 Save this test signal twice - as Pulse48Linv.dbl and as Pulse 48Rinv.dbl, anywhere but in your working directory. In the working directory they would be overwritten.
First, download the two pulses from a Logsweep in curve 1 + 2, (which was recorded with your non-time-aligned XO files)
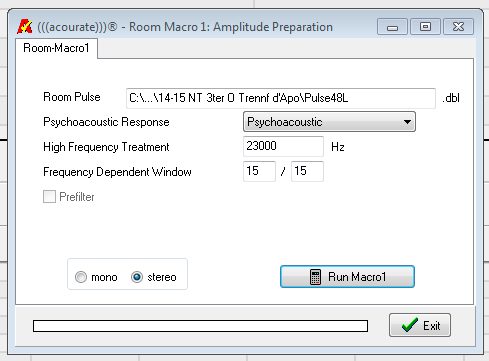
1. Run Room Macro 1

2. Run Room Macro 2 and save target. The actual target shape does not matter here at all as we will not correct frequency response at this step.

3. Run Room Macro 3 so pulse inverses are created

4. Now click Clear All Curves…
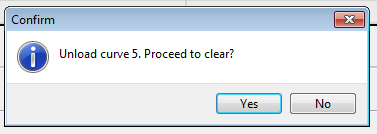
5. … und 5x Enter alle Kurven aus der Ansicht löschen.
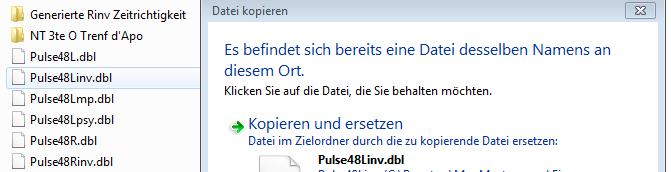
6. Nun die entstandenen Inversen mit denen in Schritt 0.1-0.2 generierten Inversen überschreiben (Pulse48Linv.dbl und Pulse48Rinv.dbl)

7. Room Macro 4 aufrufen und mit hohen Werten für das Exessphase window starten. (Dieser Schritt dient nur um die Zeitrichtigkeit der Weichen durch Acourate erstellen zu lassen. Deshalb nur die Samplerate der Messung als Filter samplerate verwenden und keinen Subsonic verwenden.)
8. Macro 5 ausführen (Strg+F5) und mit Enter bestätigen.
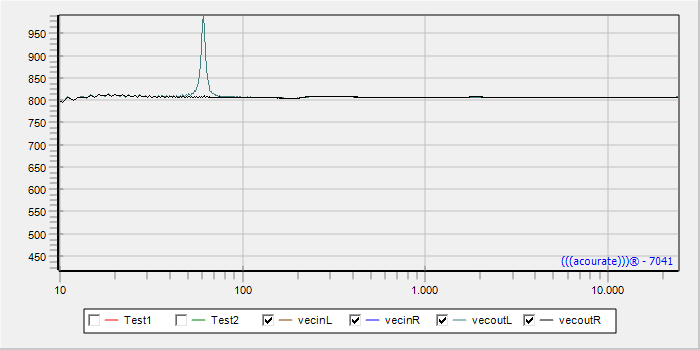
9. In das Fenster der Phase wechseln und sehen, wie viele Peaks zu erkennen sind. Nun die Schritte 7+8 wiederholen und die Werte in Schritt 7 Macro 4 für das Exessphase window um ca. +2 erhöhen, bis…
10. … Im Fenster der Phasenansicht nur 1-2 Peaks pro Kanal sichtbar sind. Danach die Schritte 7+8 wiederholen und die Werte in Schritt 7 Macro 4 für Pre-ringing compens. auf die Anzahl an Peaks pro linkem und rechtem Kanal einstellen.
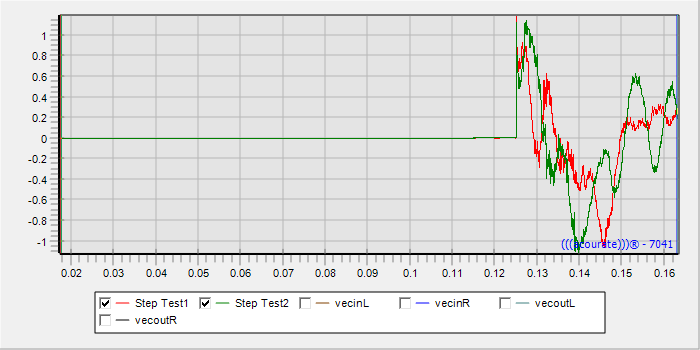
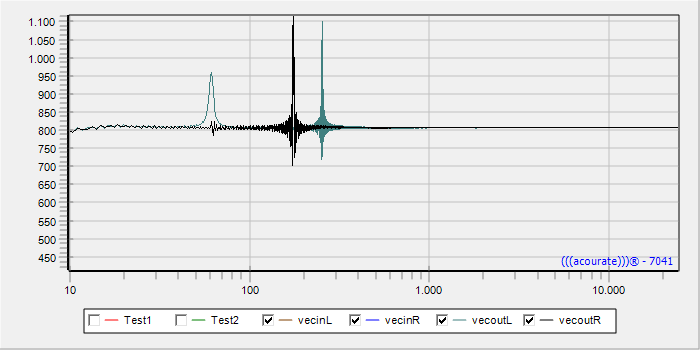
12. Nun in das Time Fenster wechseln, und die Kurve vor dem Sprung betrachten, es sollten dabei keine Vorschwinger ersichtlich sein, sonst die Werte in Schritt 7 Macro 4 für das Exessphase window anpassen.
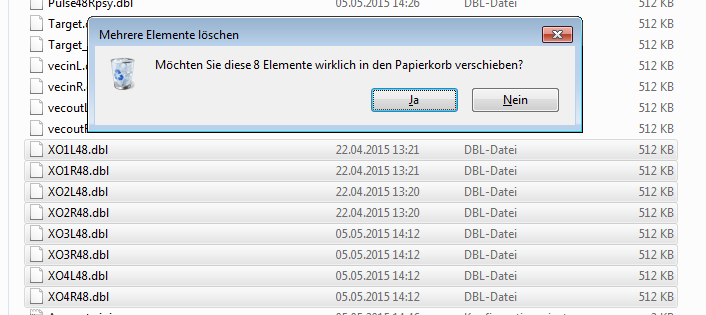
13. Die im Arbeitsverzeichnis vorhandenen XO-Dateien (falls gewünscht zuerst in einem neuen Ordner sichern) löschen.
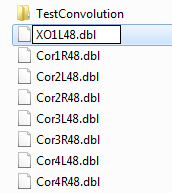
14. Die durch die Filtererstellung entstandenen Cor… Dateien nun in XO… Dateien umbenennen. Nun hat man XO… Dateien zur Verfügung, welche alle des passenden Zeitversatz aufweisen.
Als letzten Schritt mit File > Save Multiway Filter WAV die nun zeitrichtigen XO… Dateien auswählen und diese WAV Datei in den Logsweep-Recorder einbinden.
Eine Anleitung um den Zeitversatz in Samples zu kontrollieren oder anderen Weichen manuell hinzuzufügen finden sich unter TD Functions > Rotation.
2. Room 2 Macro call click Save Target and select Exit. (Frequency response and amplitude of the correction curve are not important)
3. Macro 3 run so inverses are formed.
4. Now by clicking Clear All Curves …
5. … and 5x Enter delete all curves from the view.
6. Now the resulting inverse to those generated in step 0.1-0.2 inverse override (Pulse48Linv.dbl and Pulse48Rinv.dbl)
7. Room Macro 4 call and start with high values for the Exessphase window. (This is just about the time accuracy of the turnout to be generated by Acourate. Therefore, only the sample rate of the measure as a filter to use sample rate and are not using Subsonic.)
8. Macro 5 run (Ctrl + F5) and press Enter.
9. Switch to the phase window and see how many peaks can be seen. Now repeat steps 7 + 8 and increase the values in step 7 Macro 4 for Exessphase window by about +2 until …
10 … only 1-2 peaks per channel are visible in the live view window. Then repeat steps 7 + 8 and the values in step 7 Macro 4 for pre-ringing Compens. Set to the number of peaks per left and right channels.
12. Now change in the time window, and look at the curve before the jump, it should thereby not preshoot be visible, otherwise the values in step 7 Macro 4 for Exessphase window adjust.
13. The existing in the working directory XO files (if desired first in a new folder backup) Delete.
14. The resulting from the filter creation Cor … files now … rename files in XO. Now it has … XO files available, which have all of the appropriate time offset.
the now correct time XO … select files as the last step with File> Save multiway filter WAV and embed this WAV file in the Logsweep recorder.
add catching Instructions to the time offset in samples or other switches manually can be found at TD Functions> rotation.
Google Translate for Business:Translator ToolkitWebsite TranslatorGlobal Market Finder